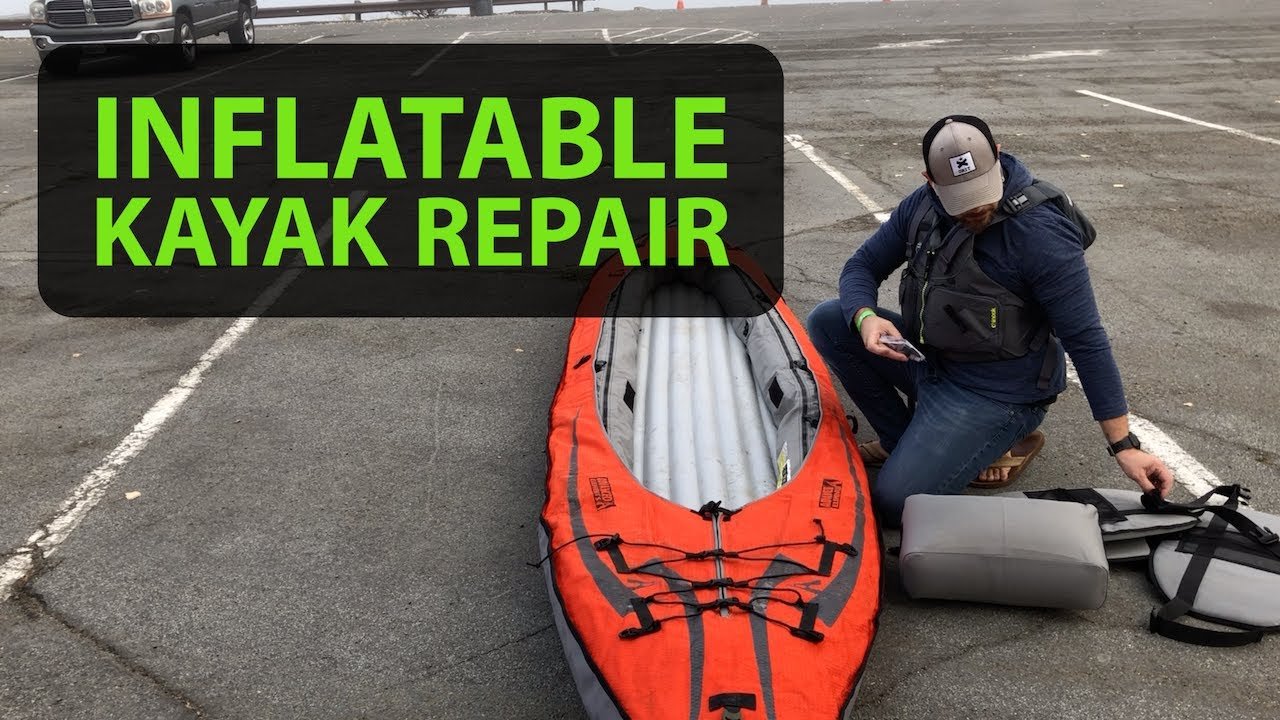
Do you know how to repair an Inflatable Kayak?
Inflatable kayaks are something that surely can give you life’s best experience, but if you don’t know about how to repair an inflatable kayak, then your experience might turn into a lurid dream.
For kayaking, choosing the inflatable kayaks would be best because inflatable kayaks are highly stable while kayaking through a rough watercourse, highly rigid and flexible yet strong, provides astounding performance in speeding and allows one or two or even more kayaker in one boat.
Problems regarding inflatable kayak:
Although Inflatable kayaks are very strong, rigid and made up of flexibly strong fabrics; they can sometimes go through problems. Not all the inflatable kayaks are everlasting.
While kayaking through rough watercourses having stones, rocks underneath the water; the kayak might get hurt in the underwater surface.
However, there are few problems that an inflatable kayak can face like-
- Scratching: Inflatable kayaks while going through rough waterlines, might get troubled through grave scratches. It can ultimately deflate the kayak and cause to make you fall over the water unknowingly.
- Shorter sideways: if the sideway hulls are shorter and shorter in diameter, then inflatable kayaks will feel to have less stabilization while kayaking vibrations. This is one of the major problems, which you have to overcome while buying a new one.
- Hooks: Make sure that you have hooks in your inflatable kayak with handles. Sometimes, they get detached for rough usage. This problem can give you a lot of pain while carrying the kayak from one place to another.
There are many more problems that can occur in an inflatable kayak but the scratching and hole problem in the main and the gravest problem. To fix these problems, you better know how to repair and an inflatable kayak.
How to repair an inflatable kayak in case of hole filling problems:
In most of the cases, you will see that inflatable kayaks have been damaged or deflated through leakage or hole problems. To fix this problem, you’ll need to follow few steps as follows-
- Make sure you have inflated your kayak completely. Now you can either look for the leak through your bare eyes or can go for another method called the soapy water method. In most of the cases, the soapy water method is used to find the leak out.
- In the soapy water method, you’ll need a spongy rubber dipped into the soap solution and a bit twirled in water. Now go through the kayak with the sponge and look for the portion where you see bubbles in a bigger
- size. This is the part that is leaking air and making the soapy waters bubbles bigger.
- After you’ve checked for all the leaks out of your inflatable kayak, dry the portions that have leaks and then mark those points with a circle drawn with a pencil. Draw the circle with a bit bigger radius compared to the leak.
- Now deflate the kayak entirely. Make sure that you don’t lose the valve inside the valve cover.
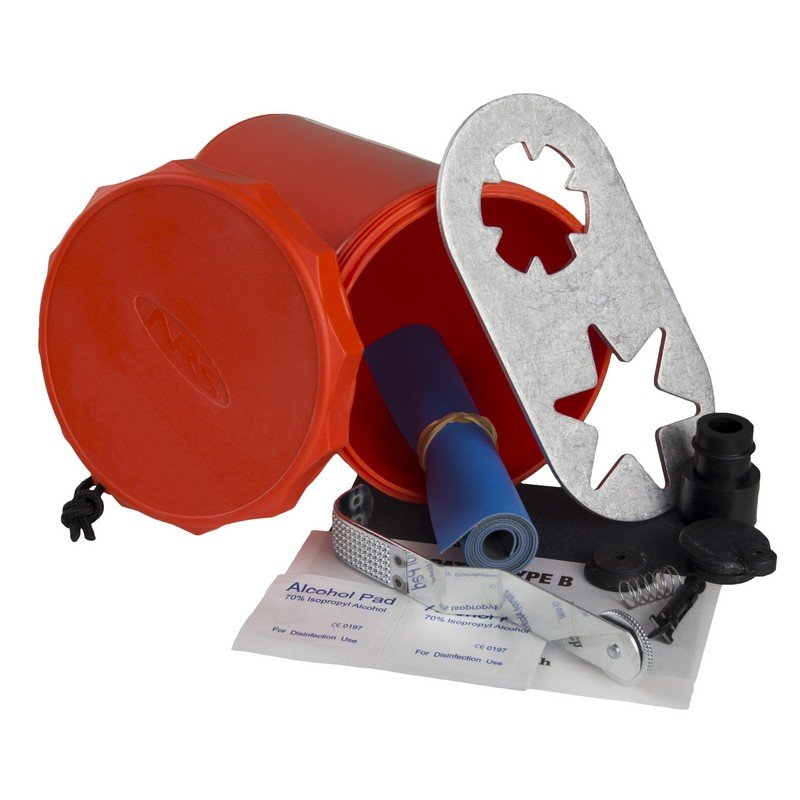
When you buy any inflatable kayak, you’ll certainly be provided with a bit extra patch fabric to cover possible leakages up. Now when you have such patch fabric on your hands, use a coin to outline it on the patch fabric. You can use either a pen or a pencil to do this task. - Now cut out the drawn portion of the patch fabric very smoothly and steadily. Do the same task on masking tape. Don’t worry because masking tape is readily available on the market. You’ll also get served with masking tape while you buy an inflatable kayak.
- Now stick the masking tape on the leak portion keeping the hole inside the circle of the tape.
- Now place glue uniformly to the leak portion of the kayak and the patch piece very carefully. After gluing the kayak hole keeping the masking tape on, you have to remove the tape steadily.
- For the best results of gluing, you can use a drier to get the glues to a sticky condition.
- Now take the glued patch and place it firmly in the leak area of the inflatable kayak. Make sure that you’ve removed all sort of possible air pockets. You can do this by pressing the patch firmly and at every part of it quite slickly.
- Now, wait for 24 hours for the glue to stick the patch fabric at its best to the inflatable kayak. After 24 hours, you can inflate your kayak and get your inflatable kayak as good as new.
Conclusion
Most of the inflatable kayak gets seldom leaked under highly rough and tough situations. But things can happen at any time at any cost unknowingly. You never know what’s gonna happen next, though you have to be prepared for every situation. Inflatable kayak can also go through problems, and you must know how to solve such problems. To do that, you’ll need to know what are the things that must be provided with a new inflatable kayak and also you should know how to repair an inflatable kayak at home.